
How to use Marquee tools in Photofocus
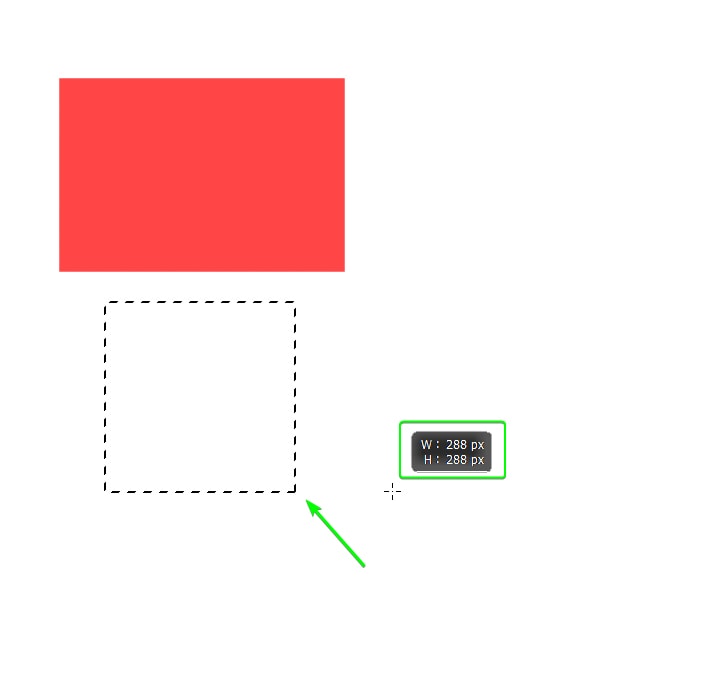
The Rectangular Marquee tool makes a selection in the shape of a rectangle. Select the Rectangular Marquee tool (M) . Use the Options bar to customize tool settings, like Add to Selection or Subtract from Selection, to get the selection you want. Draw the selection area. Rectangular: Drag over the area you want to select.
Marquee Tool 5 Complete Course YouTube
Step 1: Draw an elliptical selection outline. We want to make sure that the selection outline is centered in the image. So with the Elliptical Marquee Tool active, click in the top left corner of the image to start the selection and drag all the way down to the bottom right.

How to Use the Marquee Tool in
Learn how to use the Marquee Tool in Photoshop to make multiple selections. Learn how to add or subtract from your selections with the Marquee Tool and how t.

How to Use the Marquee Tool in marquee tool MAXFIT
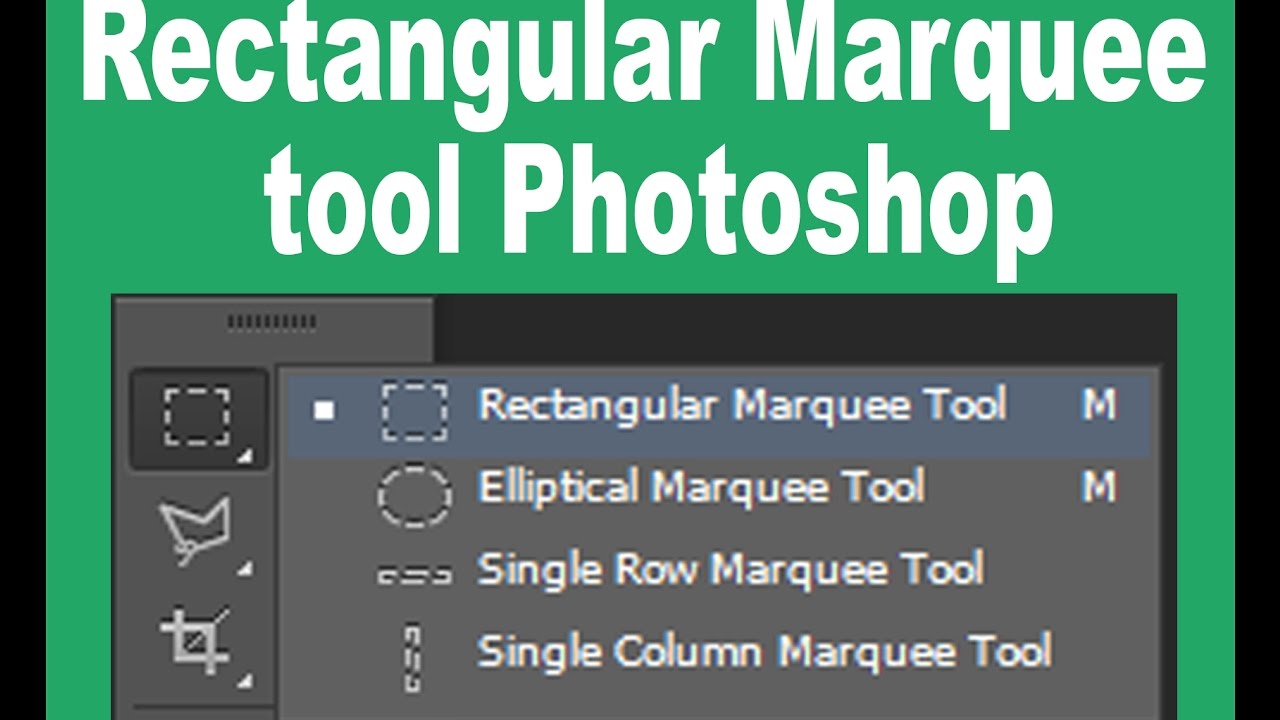
Marquee Tool are one of the simplest Selection Tools that Photoshop can offer. If you open the Marquee Tool from the Toolbar, you will see four different tool options: Rectangular; Elliptical; Single Row ; Single Column Note: you can quickly select the Marquee Tool by pressing M then, you can switch between the Rectangular and Elliptical.
Marquee tool in YouTube
The use of marquee tool is quite simple: Step 1. Open a document or image in Photoshop, Step 2. Select the m arquee tool from the toolbar. It can be located on the left side of the application as you can see in the image above. Step 3. After selecting a marquee tool, left click (and hold) and drag on the canvas or image layer, then as you.
How to use rectangular marquee tool in cs6 What is work of
In this tutorial we delve into the selection (or "marquee") tool in Adobe Photoshop and learn how to use it and they key shortcuts we can use to make it quic.
:max_bytes(150000):strip_icc()/002-use-the-photoshop-marquee-tool-1697604-2f59818a58634514a0a27a8c2c753a2d.jpg)
How to Use the Marquee Tool
Click on it to select it: The Rectangular Marquee Tool is located at the top of the Tools panel. If you're using Photoshop CS4 as I am here, or Photoshop CS3, and you have your Tools panel set to a single column layout, the Rectangular Marquee Tool will be the second icon from the top: The Tools panel in Photoshop CS3 and higher can be.
Popular Tools in The Marquee Tools
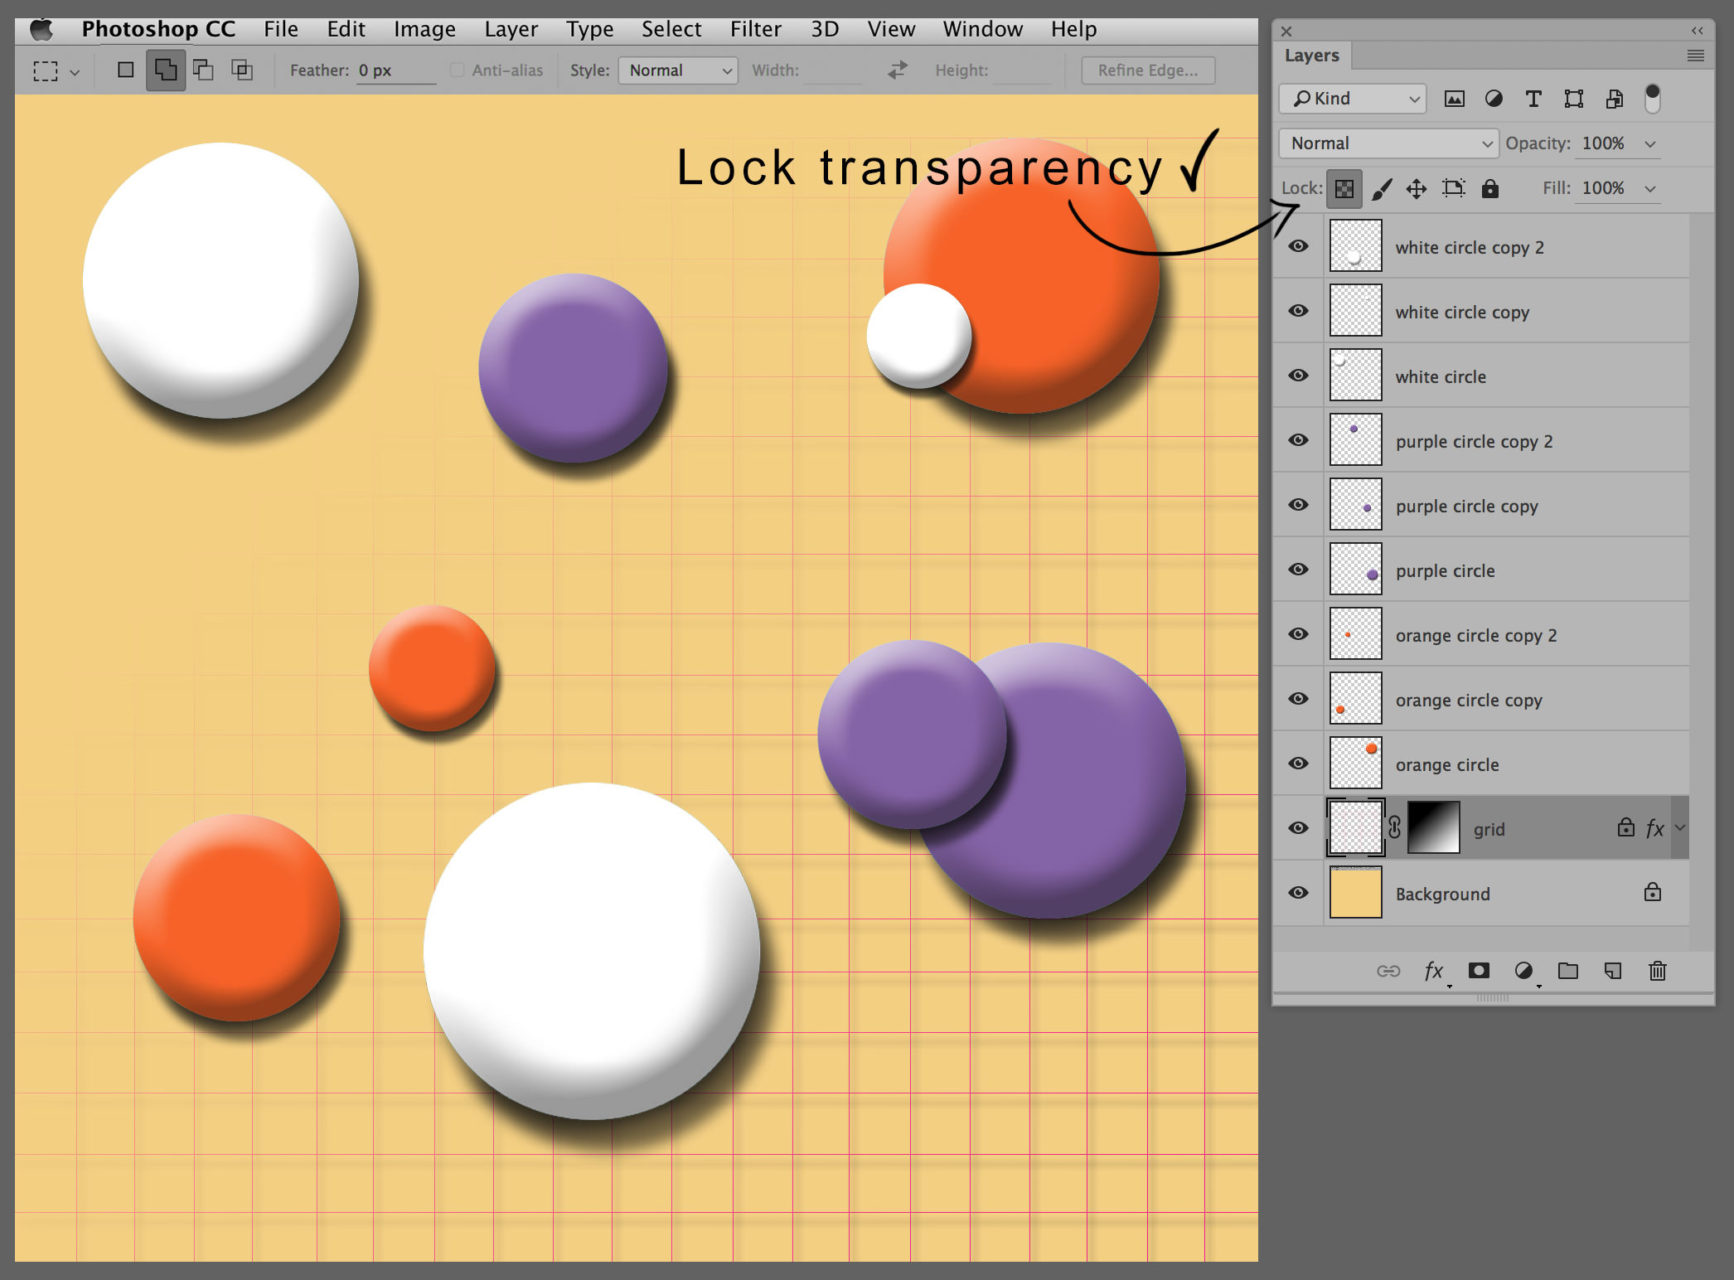
Open Your Image. Launch Photoshop and upload the required image to it. There are two ways of fulfilling this command: use the Open option or create a new layer and then drag the picture (in our case several pictures) there. STEP 2. Choose Marquee Tool. Head to the Tools panel and find the Marquee tool, which is in the second position, right.

Best Tools For Beginners Photo And Image Editing
Elliptical Marquee tool: Use this tool to make an elliptical selection. Press the Shift key to draw a circle. Single Row or Single Column Marquee tool: Creates a selection that is 1 pixel wide in the shape of a row or column. These two tools are not used often, which is why Adobe didn't assign the keyboard shortcut M to trigger them.

How to Use the Marquee Tool in
Common Uses for the Tool. The Marquee tool has a number of different uses in Photoshop that make your work just a bit easier. With the Marquee tool, you can quickly and easily: Select objects for color change. Cut objects from an image. Cut objects into a new layer. Replace part of an image with a new object.
How to use Marquee tool in YouTube
Marquee tools photoshop is a selection tool in Adobe Photoshop used to isolate parts of an image for editing. It's commonly used to select squares, rectangles, ellipses or circles with sharp edges. The marquee tool has various options such as the ability to add feathering or smoothness around its edges.

Five Secrets of the Marquee Tools in
Things you can do with the marquee tool in Photoshop. Delete - with a marquee selection made, press the Delete key on your keyboard. This will erase the selected part of the image and replace it with the background color (which is shown on the toolbar). If the area deleted is on a layer other than the Background, it will leave a hole.

Elliptical Marquee Tool Adobe CC Tutorials YouTube
The Marquee Tool in Photoshop is a fundamental selection tool that aids in selecting specific areas within images. Located on the default toolbar, it helps users create accurate selections in various shapes such as rectangles, ellipses, and single-pixel lines. We will walk you through its various forms, while keeping it precise and straightforward.
How To Use The Marquee Tool In Guide)
Turn anti-aliasing on or off and set the selection style — Normal, Fixed Ratio, and Fixed Size, for the Elliptical Marquee tool. Click and drag in the image over the area you want to select. Hold down the Shift key and drag in any direction to constrain your elliptical marquee to a circle. Hold down Alt (Win) / Option (Mac) as you drag to.

Marquee tool Adobe for Beginners YouTube
Here are the steps I took: Click the Marquee Tool. Set the feather number that fits the area and the task. For example, if you are selecting a small area, set a small feather number. For a large area, choose a large feather number. Make a selection. INVERT the selection by pressing shift + cmd/ctrl + I.

How to Use the Marquee Tool in
Easy Cut Outs With These 3 Tools: https://www.youtube.com/watch?v=aq_XgTn4l6g-----Whether you.